Ahhh...another holiday to create stuff for! Whoo hoo! :) I have so many plans... Anyway, today's project, the first of my valentine projects, is this rhinestone and heat transfer t-shirt. I thought I would walk you through it. First I cut out my heat transfer material with my Silhouette Cameo. Today I used Silhouette brand smooth red heat transfer vinyl. I used the settings that my Cameo calls for for flocked vinyl. My Cameo seems to need the blade bumped up on almost everything I cut. Yours might be different so always do a test cut first.
I used 2 shapes in this project. The heat transfer is "heart_tree_C01483_23067". I loaded my media into my Cameo and cut it.
After it comes out of the machine, carefully peel away the material you are not using.
You are left with your heat transfer. Something you need to note, since the tree looks the same whether it is flipped as a mirror image or not, I DID NOT mirror image it in the software. If you had words or something similar, you will want to flip your image horizontally. You do this because you have to flip the image over when you iron it on. Very important!
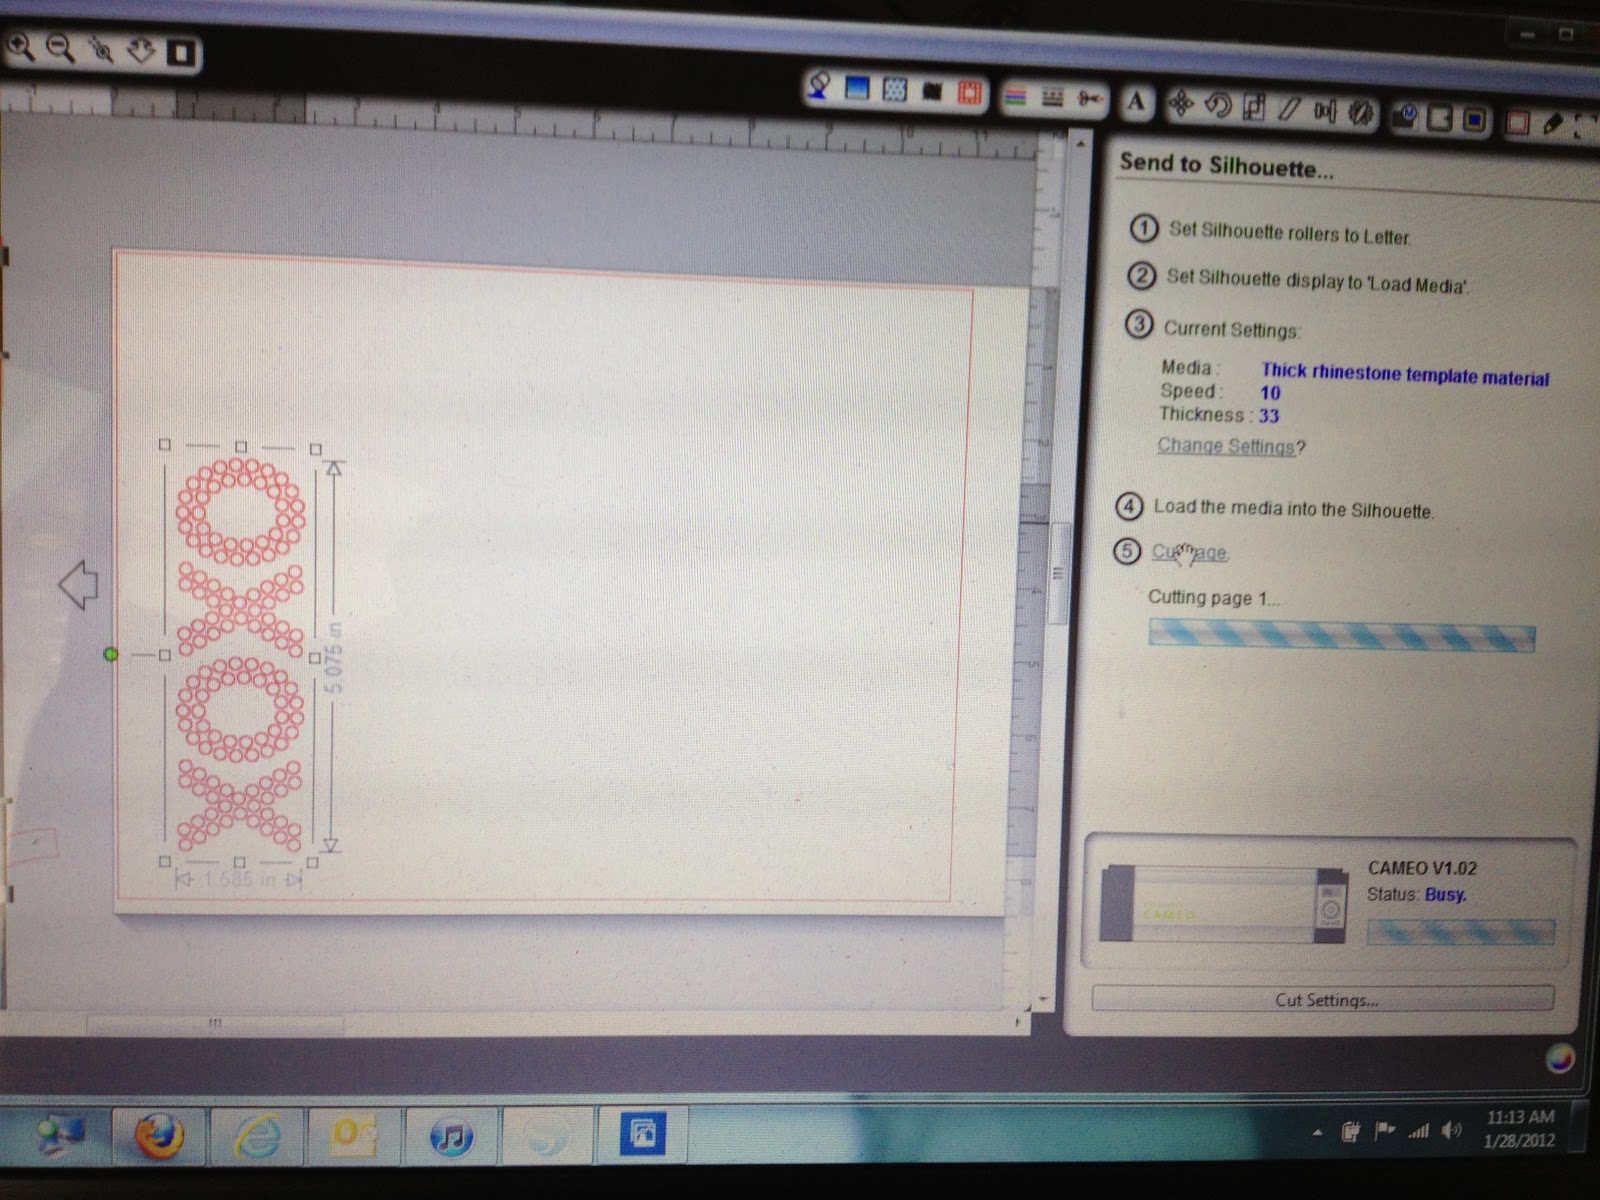
I put the tree aside and next cut the rhinestone template. For this I used the shape "rhinestone_xoxo_C20091201142706_18816". I do not use the Silhouette rhinestone template material. This is not because I don't like it...I actually prefer it. It is thinner and peels right off the backing with the holes cut perfectly. Problem is, it's expensive compared to thicker rhinestone material that you can get online. This adds a step for me. I set my Cameo settings pretty high -- blade is set to 8. But the holes don't pull off the backing and I have to poke them out almost one by one. If you have the Silhouette rhinestone material you definitely want to use it! I'm cheap!
So load your media and cut your template material.
When it comes out it looks kind of like this. I then have to punch most of those holes out. Not so with the Silhouette template material...
Then you place it on the backing board.
Next, sprinkle your rhinestones on the holes and move them into place with the brush. You will have to pick up the remaining rhinestones and place them into the holes.
When you are finished with the rhinestone placement it will look something like this.
Next you will place your rhinestone transfer paper over the rhinestones and carefully pull up the paper.
I wanted to make sure I had everything arranged the way I wanted it before I ironed it all down.
I placed the ironing paper over the design and pressed firmly with the iron for about 30 seconds in each spot until I had iron down the entire design.
Carefully pull off the transfer paper to reveal your design. You may need to re-iron stubborn spots.
So now we are finished with the heat transfer portion of the shirt. Onto the rhinestones...
You pretty much do the same thing you do with the heat transfer...place it where you want it on the t-shirt face-up. Press the iron firmly on the design for about 30-45 seconds. Slowly peel off the transfer paper to reveal your design. I added a few extra rhinestones to the tree for some added bling! :)
You are going to want to flip the shirt inside out and iron the back of the design to be sure it is on there good. Flip it back and you are finished! Ta da! :)
Next is treat boxes...stay tuned...