Friday, December 30, 2011

Authentic Greek Avgolemono Soup

I am a Greek and Greeks must be able to make certain dishes. The famous Greek avgolemono soup that is sold in restaurants that claim to have even the tiniest of Greek influence is one of my family's favorites. My dad always made his from scratch and I do the same...no shortcuts!! I am a fierce critic of any version of the soup I taste in restaurants. I find many of them are too thick, use rice instead of orzo, don't have enough lemon flavor, have too much lemon flavor, etc. Mine works best for me and my family although this is very subjective. Alright, so how do I do it?
ALWAYS MAKE YOUR OWN BROTH! Now I am a fan of boxed chicken broth and use it frequently in other soups. However, there are some soups/stews that I always start with my own broth. Would anyone notice the difference? Probably not...certainly not my own family! But it is a matter of principle on my part. Same goes with my rolled chicken and dumplings and homemade chicken noodle soup...broth from scratch.

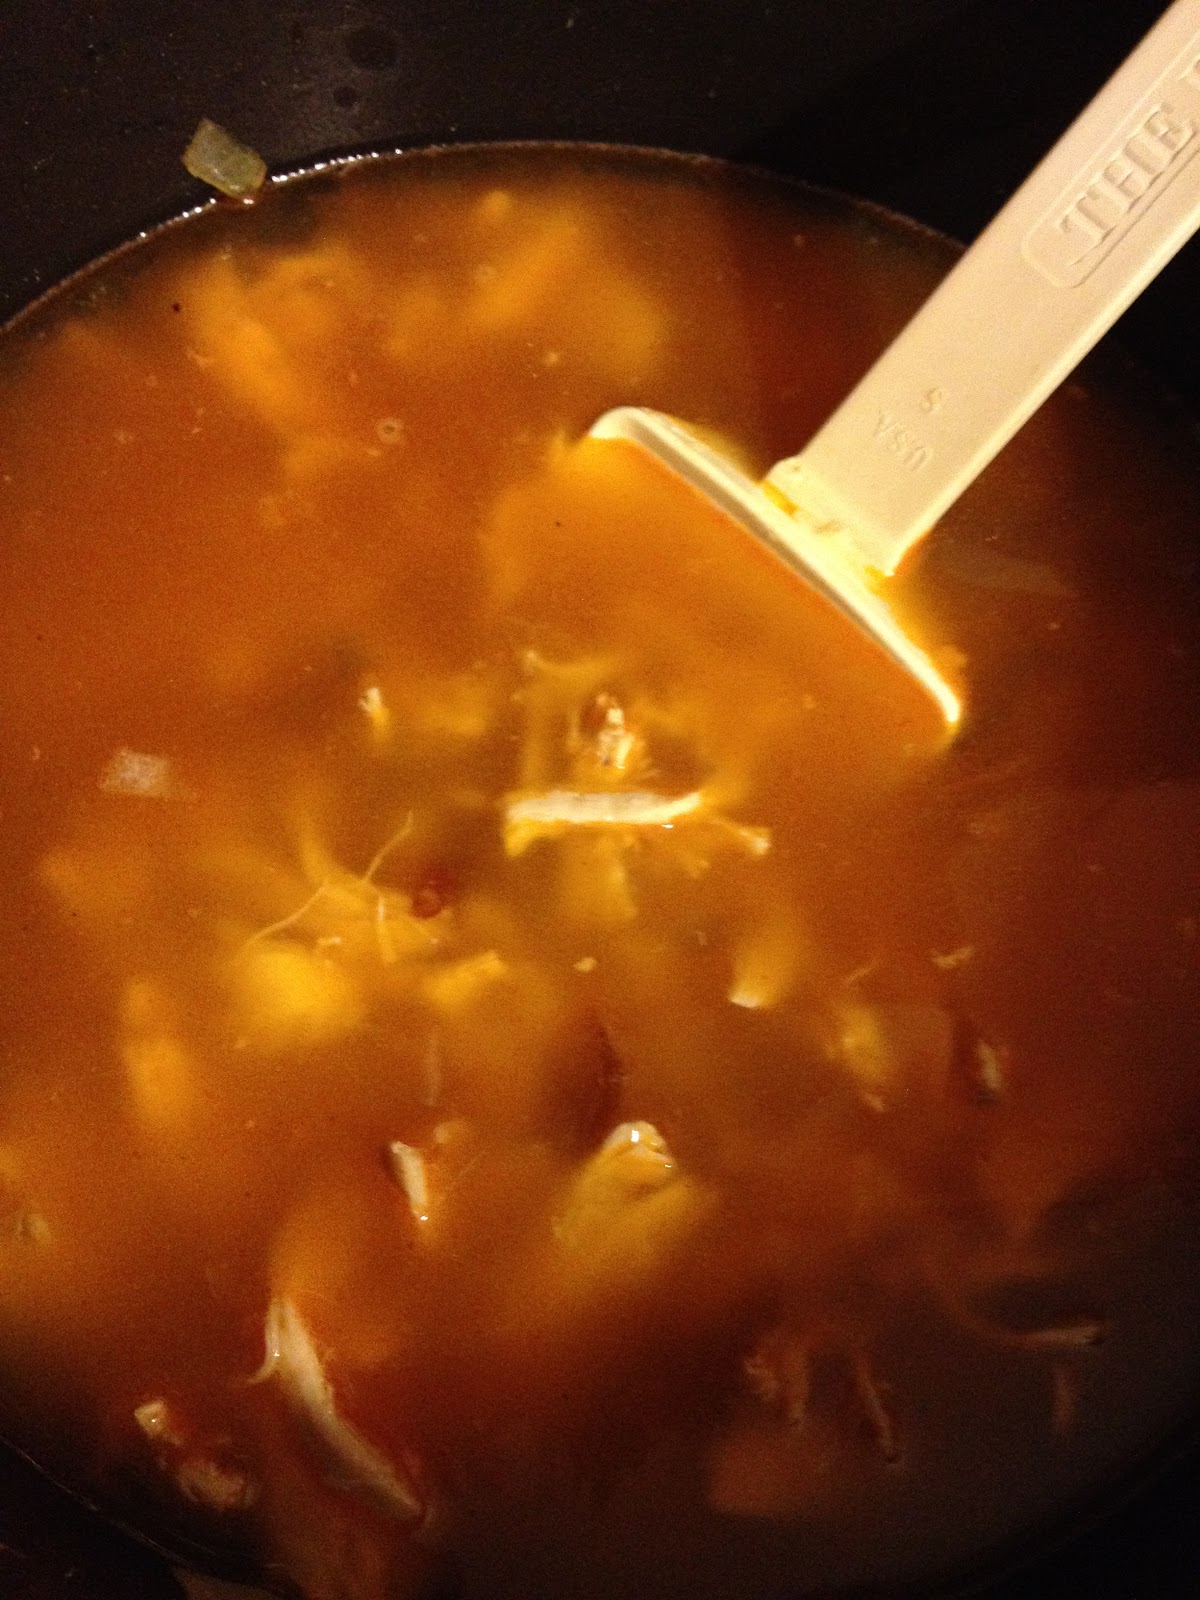
Anyway, I use a whole cut-up chicken, approximately 3 stalks of celery, a whole sweet onion, a bunch of parsley, 2 cloves of fresh garlic, salt, black pepper and oregano. Just roughly chop the veggies because they are being left behind in the end. They are there only to flavor the broth. I add enough water to cover everything well. Cook the chicken about 45 minutes to an hour...your whole house will smell delicious! After the chicken is cooked through, strain your broth out into another pot, leaving the veggies and chicken behind. You can also cook the chicken and veggies in a pasta pot and then pull them right out leaving the broth behind. That is what I did this time...saves a step. I then cool the chicken on a plate so I can shred it without burning my fingers off!
Next, taste your broth. Odds are you need more chicken flavor. I add Vigo Chicken Flavored Soup Base. How much you add depends on how much broth you have and how you like it. Start with one tablespoon and work your way up, tasting as you go. This is totally up to you as to how much you use...I can't tell you how chicken-y a taste you want!

Next comes orzo. I do not use rice but you could if you want. I love orzo pasta and it is more authentic if you ask me. How much you add depends on how much broth you have. I had a lot of broth so I used an entire pound of orzo. You might use less depending on how much pasta you want and how much broth you have. Cook the pasta until al dente. Take your pot off the heat.

Now comes the tricky part. Beat three eggs in a separate bowl and let them warm to room temperature. Why? No matter how hard you work at it, if your eggs are cold they will curdle and become scrambled eggs in your soup. Yes I have done this...and I did it this time too...not too bad but the eggs were still too cold when I added them. So, eggs at room temp...a must!! To your beaten eggs, SLOWLY add a little broth. This tempers the eggs so that they come closer to the temperature of the broth. Again, we do this to lessen the chances that the eggs will turn into scrambled eggs. Then slowly add the eggs to the pot, stirring as you go.

Next, lemons. I usually add the juice of 3 lemons but you might want to start at 2...you can always add more but you can't take it out. In this pot of soup I thought 2 was not enough lemon flavor so I did 3. It was perfect!

Next you are going to add your chicken back to the soup. By now it should be cooled enough to handle. I shred the entire chicken and add it all back to the soup.

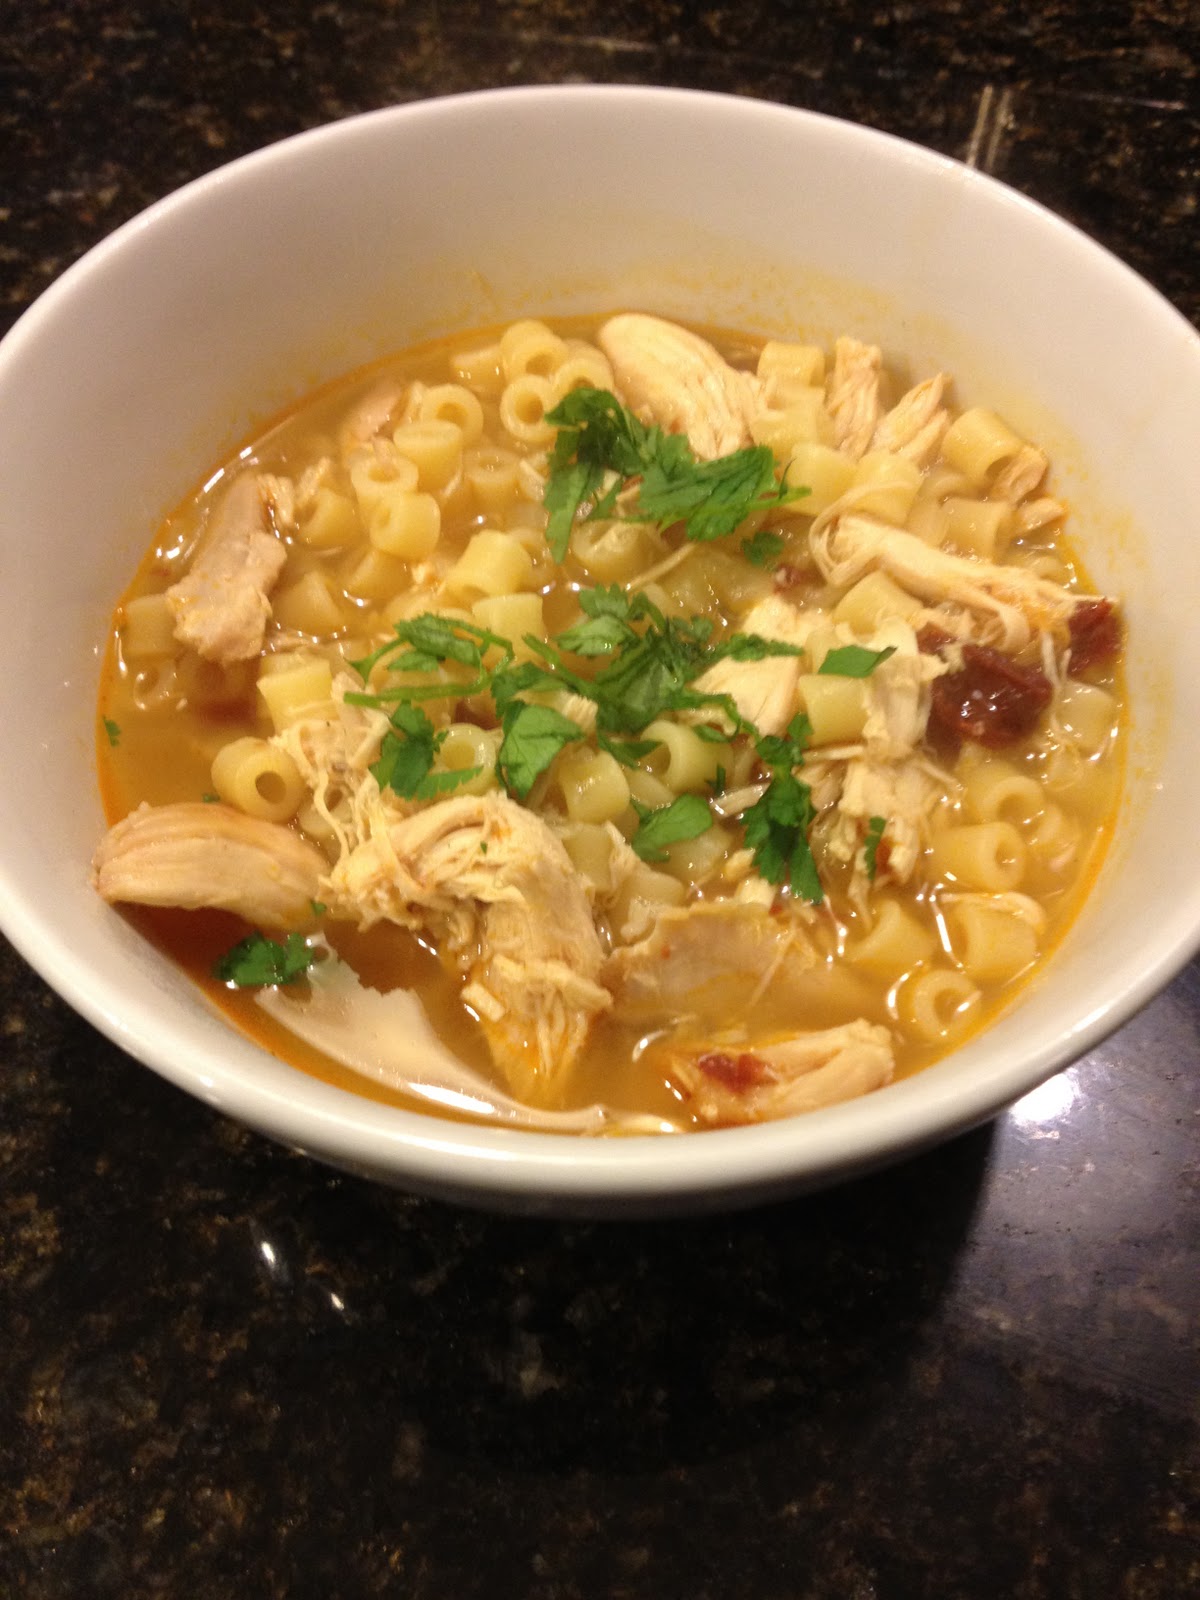
Serve the soup with a nice Greek salad and a loaf of crusty bread with butter...perfect for a chilly winter day!

I know I gave you a bunch of "to your taste" in this recipe but it truly does depend on how you like it. The recipe I use follows but you really need to taste as you go and adjust to your liking.

Suzanne's Greek Avgolemono Soup

1 whole cut-up chicken
3 stalks of celery, roughly chopped
1 large sweet onion, roughly chopped
1 bunch of parsley
2 cloves of garlic, roughly chopped
salt, black pepper and oregano
water to cover chicken and vegetables
3-4 tablespoons Vigo chicken base
1 pound orzo pasta
3 eggs, beaten and warmed to room temperature
juice of 3 lemons

Place chicken, celery, onion, parsley, garlic, salt, pepper, and oregano into a large pot/pasta pot. Cover with water. Boil 45 minutes to an hour. Strain broth into another pot. Cool chicken and discard vegetables. Add chicken base to broth to taste. Add pasta and cook until al dente. Remove from heat. Beat eggs. Temper eggs by adding a small amount of broth. Slowly add eggs to soup, stirring as you go. Add juice of lemons to soup. Shred chicken and add to soup. Serve.

Enjoy!

Thursday, December 29, 2011

Yes I'm Still Here...

I hope everyone had a wonderful holiday. We had a great Christmas with family and friends. I am so blessed to have such a wonderful life and Christmas is such a great time to reflect on what is really important.

Like most people, I am trying to get more organized for the new year and get things done that need getting done before I go back to work. Half the school year is over and I always tackle projects during my winter break as well as my summer break. Winter break to-do list: Clean out pantry, check; Clean out a new space for my new Keurig and all of my coffee supplies, check; Finish re-doing my daughter's room, half-check; Find a place for my winter clothes, not yet; and clean out the refrigerator, not yet. So I am about halfway there. Good thing I don't have to be back to work until the 9th! :-)


My kids got a Kindle Fire from Grandma and I personalized it for them using my Silhouette Cameo, cutting their names out of vinyl to stick on the backs. Lucky kids!

Happy Thursday everyone!

Saturday, December 17, 2011

Miscellaneous Christmas Decorations...

Let's see...what have I done this week? We finished our secret pal week with a bang on Friday. Here is one thing I made for my friend.

I love etching! So elegant!

Today I worked on some more really cute ornaments for both my tree and to give to my mother-in-law for her tree. I used the clear ornament cut from Lori Whitlock for her nativity ornament idea. But instead I used the cut to cut out pictures of my kids that would fit right into the ornament. I printed the photos on my printer and then lined them up on my Silhouette cutting mat to cut their faces out in the shape of the ornament. I must say it worked out great! I cut 2 copies and then glued them together in case the ornament should rotate...their faces are on both sides of the ornaments. I then rolled it up and inserted it into the ornament and then flattened it back out using a pen that I stuck inside the ornament. I added crafting "snow" and a ribbon and wa-la! I made one of each girl for me and for my mother-in-law...I think she'll love them! :-)

Lastly, I thought I would share my idea for hanging my holiday cards. I live in a very small house so I have to be creative. I hang ribbon around a door frame using the Command picture hanging strips and then I paperclip the cards to the ribbon. It's cheap and very effective. And I must say I think it looks great!


I don't know what else I'll be making...time is getting short and I'm getting tired! Three more days of work and then off for 2 1/2 weeks...can't wait!!!

Sunday, December 11, 2011

Silhouette Advent Calendar

Finally! It took me about 8 hours total to do this but I finally finished my Silhouette Advent Calendar! Whoo hoo! I must say I love it! Now all I have to do is put some treats in the boxes...the kids can't wait!

Thursday, December 8, 2011

Naughty and Nice Shirt

Working full time stinks this time of year because I have so much I need to do and so much I want to do to get ready for Christmas. I wanted a festive shirt for tomorrow...well...just because! So I quickly made this today. I cut out the phrase and Santa hat on flocked heat transfer with my Silhouette Cameo and then layered it onto a plain red long sleeve t-shirt. I then added a few rhinestones for some extra bling :-)  I texted the picture to my friend and she asked me to cut one for her too...so I did.
I love how it turned out!

Last night I was also in a creating mood and only had a very short time to do anything so I made this wreath for our front door. I found the idea on Pinterest. I went to WalMart and got two packages of 30 ornaments. I unwound a wire hanger and threaded the ornaments on. I twisted the hanger back up and added some ribbon and hung it up on the door. Maybe 30 minutes of total time (not including WalMart of course!!).
I've got lots more planned for the weekend...

Monday, December 5, 2011

Christmas Gift Boxes

We are doing some fun stuff at work up until Christmas Break. The first is "You've Been Elf'd" where we leave a little bag of goodies along with a note that they've been Elf'd and need to Elf someone else to carry on the fun. My good friend started it so I was one of the first to be Elf'd (say that 10 times fast!). Anyway, it is my turn to Elf two more people so I made a couple of cute boxes on my Silhouette Cameo. They turned out cute and I hope the two people I Elf think so too!


Monday, November 28, 2011

New Silhouette Cameo!

I am sooooo excited! My new Silhouette Cameo came Saturday! Whoo hoo! How nice does it look sitting on my desk??
So what did I make this weekend? I have been dying to try the vinyl and now that I have a big enough cutting area I cut out this 12x18 "families are forever" phrase for my picture wall. Doesn't it look great??
Ahhhh...the possibilities are endless! :-) I also made a chalkboard paint coffee mug for my husband. I started with a dollar store mug, brown chalk paint, and a sponge brush.

I painted 3 coats of paint onto the mug, leaving the top white so his mouth wouldn't touch the chalk part of the cup. It wasn't the straightest paint line though so I needed something else. Back to my Cameo...I opened the  "retro car" design, resized it, duplicated it, traced only the outline, and cut it out using black vinyl. I then adhered the vinyl to the mug and this is the final result...
One problem...he didn't use it this morning! When I asked why he said it looked so nice he didn't want to mess it up! I have to give him a tutorial later tonight on how you can erase it. It IS OK to get it wet, although I don't plan on putting it in the dishwasher!

Friday, November 25, 2011

Thanksgiving!

Thanksgiving was a success and the little table decorations I made with my 7-year-old daughter were a hit! My 9-year-old daughter spent Wednesday night at Grandma's house so I had to find something my little one and I could work on together so she would forget she wasn't spending the night until Saturday night! She loved making the little Thanksgiving placecards...so much so that I think I created another Silhouette monster! Uh oh...
We used the pilgrim boy and pilgrim girl placecards from the online Silhouette store. We also made a couple of 3-D turkeys (Snapdragon Snipets in the online store) to place on the table as well.
She wrote everyone's names in her very careful super special handwriting! Out of 10 names she let me write 2 of them...my own name and her sister's name!

So onto the food...I made the bird because I did such a great job last year! :-) Only problem was that I forgot what I did last year! But I guess it turned out OK because everyone said it was delicious and juicy. I think the key is to season it the night before. I rubbed the bird down inside and outside the skin with fresh minced garlic, poultry seasoning, and Adobo seasoning and then covered it with foil and put it in the fridge overnight.
Stuffing...I used Jimmy Dean reduced fat sausage, a whole large sweet onion, and about 7 stalks of celery. I sauteed it all up and then added 3 cups of chicken broth.

I stuffed the bird and put the rest in a baking dish to cook along side the bird. I love my Pampered Chef thermometer because I can just walk on by the oven whenever I want and see how my bird is doing temperature-wise...very convenient!
Let's see...what's next...remember the cute little Silhouette free shape from a previous post? I made the dessert - the Pumpkin Lust Cake (with a few modifications...1/3 less fat cream cheese and light whipped topping) and stuck it in the dessert...so cute!
And by the way, the dessert was so yummy!!!! :-) I hope everyone had as enjoyable a Thanksgiving as I did!

Tuesday, November 22, 2011

Mexican Chicken Lime Soup

You can call me the "The Modifier!" I rarely make a recipe that I don't tweak in some way. Being a registered dietitian I make it my mission to make foods healthier. I rarely use full fat products and if I do, I cut back. I'm kind of the Ellie Krieger of the real world! Today I made Rachel Ray's Mexican Chicken Lime Soup...Suzanne style. Here is a link to the original recipe - http://www.rachaelraymag.com/recipes/rachael-ray-magazine-recipe-search/mucho-gusto-latin-recipes/mexican-chicken-lime-soup

I started with my onions and garlic sauteed in a little olive oil. Instead of using raw chicken, I used cooked rotisserie chicken that I had previously shredded and added that into the pot.
Then I added my chipotle peppers in adobo sauce and 6 cups of chicken broth.
I brought it to a boil and because I add pasta to all my soups, this one was no different! I like to make it a bit heartier.
I let the pasta cook and then added the juice of 2 limes and about 1/4-1/2 cup chopped cilantro.
I let it cook a bit longer and then served. It was delicious but a bit spicy. We liked it but if you want to dial it down a bit I would only use 1 pepper.
So here is the recipe...

Ingredients

  • 2 tablespoons extra-virgin olive oil
  • 1/2 large sweet onion, finely chopped
  • 1 clove fresh garlic, minced
  • 2-3 cups of shredded cooked rotisserie chicken
  • 2 canned chipotle chiles in adobo sauce, finely chopped, plus 1 tablespoon adobo sauce
  • 6 cups chicken broth
  • 1/4 - 1/2 cup chopped fresh cilantro
  • Juice of 2 limes
  • 1 cup uncooked small pasta

Directions

  1. In a large saucepan, heat the olive oil over medium-high heat. Stir in the onion and garlic, and cook until the onion begins to brown, about 5 minutes. Add the cooked chicken and stir. Stir in the chipotles and adobo sauce, then stir in the chicken broth. Bring to a boil and add pasta. Cook until al dente. Stir in the cilantro and lime juice. Let all ingredients simmer about 5 minutes

Monday, November 21, 2011

Andes Creme De Menth Cookies

What can I say but YUM! I really really love these cookies and you can only find the baking chips this time of year (at least in my grocery store). So I stock up! Today I made a batch and they turned out delicious as usual. But be warned...they are super addictive!

Here's the recipe from their website:  http://www.tootsie.com/rec_cdmcookies.php. Enjoy yourselves and make sure you add a little extra cardio to your day afterward!!

Sunday, November 20, 2011

Silhouette Free Shape Project


How adorable is this week's free shape from the Silhouette online store?? I didn't use the part that says "Eat Pie" because I'm not making a pie! So I used the label and then wrote in what the dessert is. I will pop this right into my Pumpkin Lust Cake (http://www.sweettreatsmore.com/2011/11/pumpkin-lust-cake.html) and serve it up :-) I used some really cute papers from Scenic Route and of course my Bazzill cardstock. I inked the edges using Stampin Up's Chocolate Chip ink and I think it all turned out super cute!

"Be Grateful" Rhinestone T-Shirt


I made this with my Silhouette. I used the be_grateful_C00430_24282 design from the Silhouette online store and then converted it to a rhinestone design by just single clicking rhinestones over the design. I just couldn't get the look I wanted with the linear or radial fills. You need the upgraded software to do this. I then cut fall leaves (harvest_set_C20091105234759_20387) out of freezer paper (using the settings for vellum) and used fabric paint to paint them on the shirt. I REALLY love how it turned out and can't wait to wear it to work on Tuesday (my last day before my mini-vacation!). My friend wants me to make her one too so I cut everything out and am taking it to work tomorrow...should be interesting...

I finally did it!

Yep...I created my own blog! I enjoy looking for inspiration on other folk's blogs so I thought maybe I could inspire others with my own blog. So I'll be learning about how all this works as I go so be patient with me. Until then I will see if I can post a couple of my Saturday crafting projects from yesterday...let's see how this goes!!